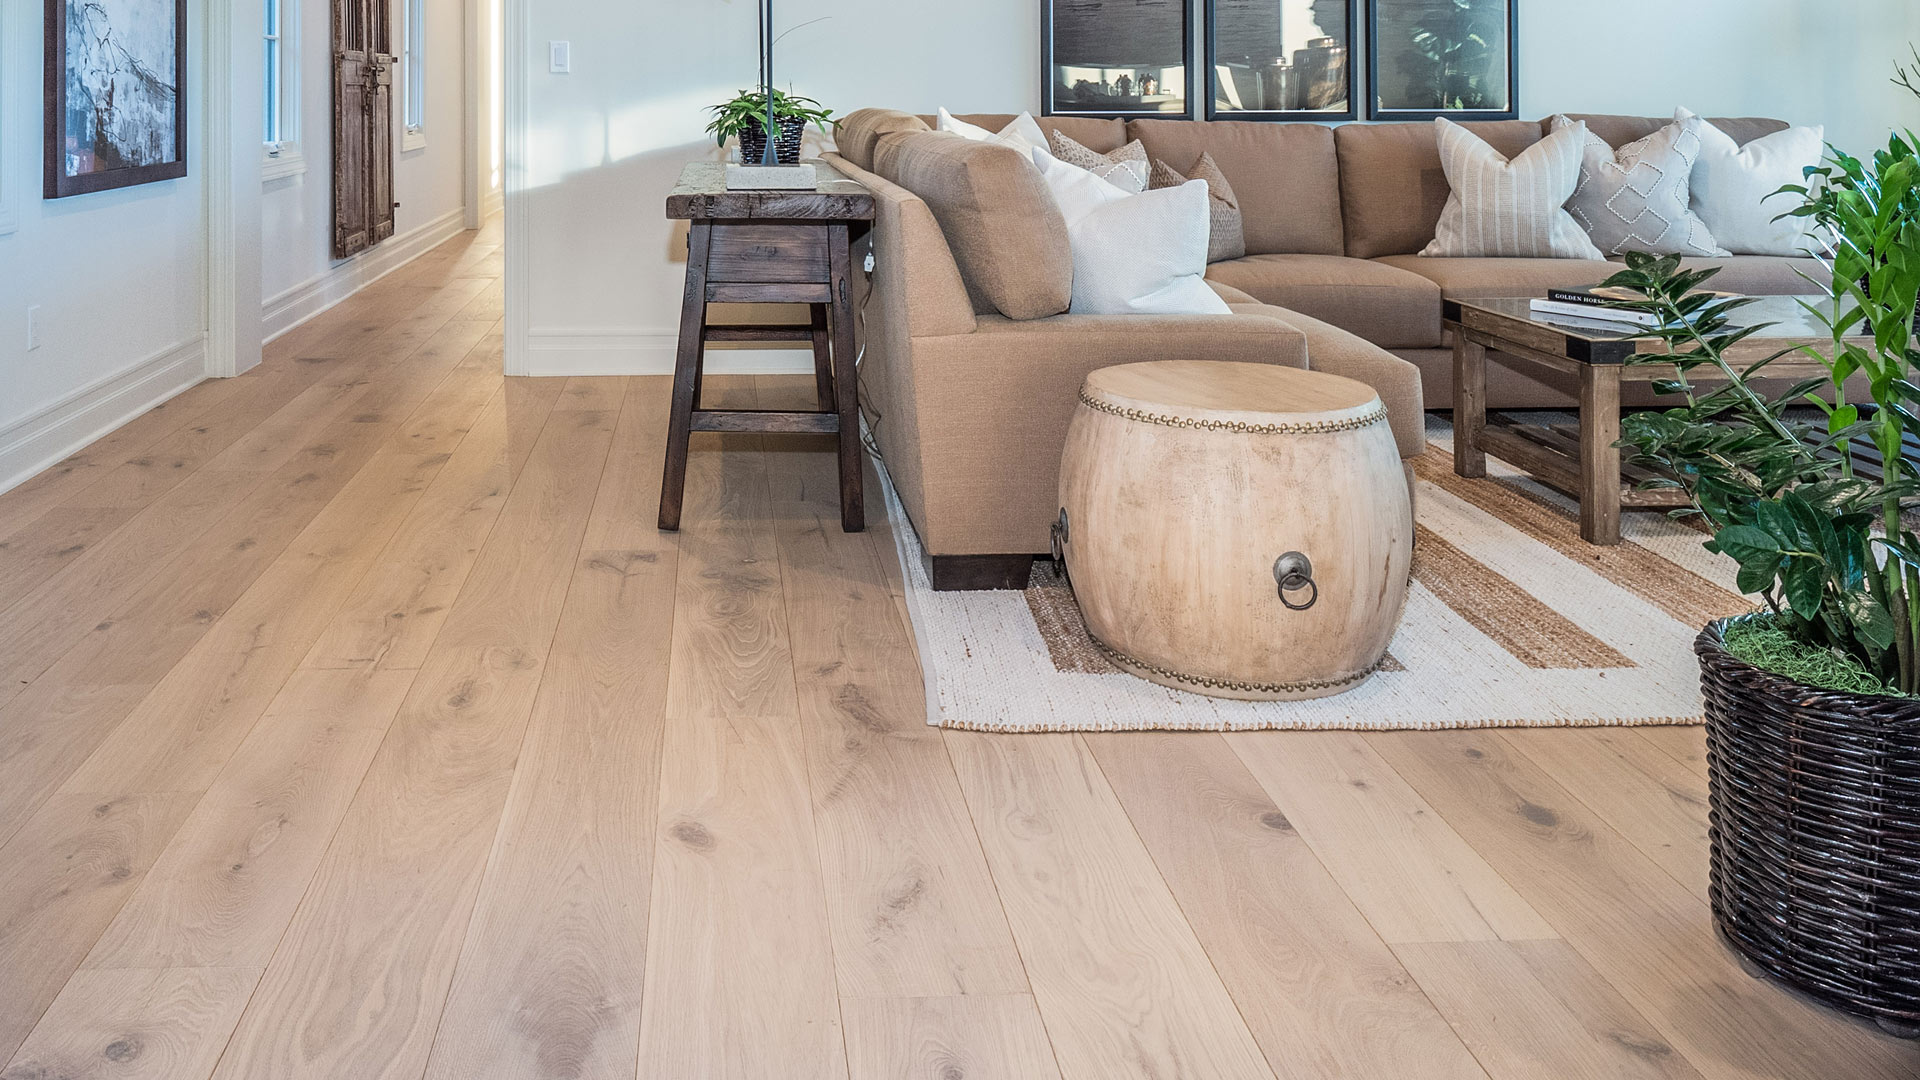
Hardwood
Provenza Floors has built its reputation in the design of unique hardwood products that exceed the demands of builders, architects, interior designers and residential consumers. With over 40 years of experience in the design of innovative and beautiful floor and wall covering options, Provenza offers hardwood collections that are unique and handcrafted.
A Passion for Detail
Our passion to offer unique hardwood, waterproof luxury vinyl and luxury laminate floor collections drives us to make every collection we offer a design masterpiece.
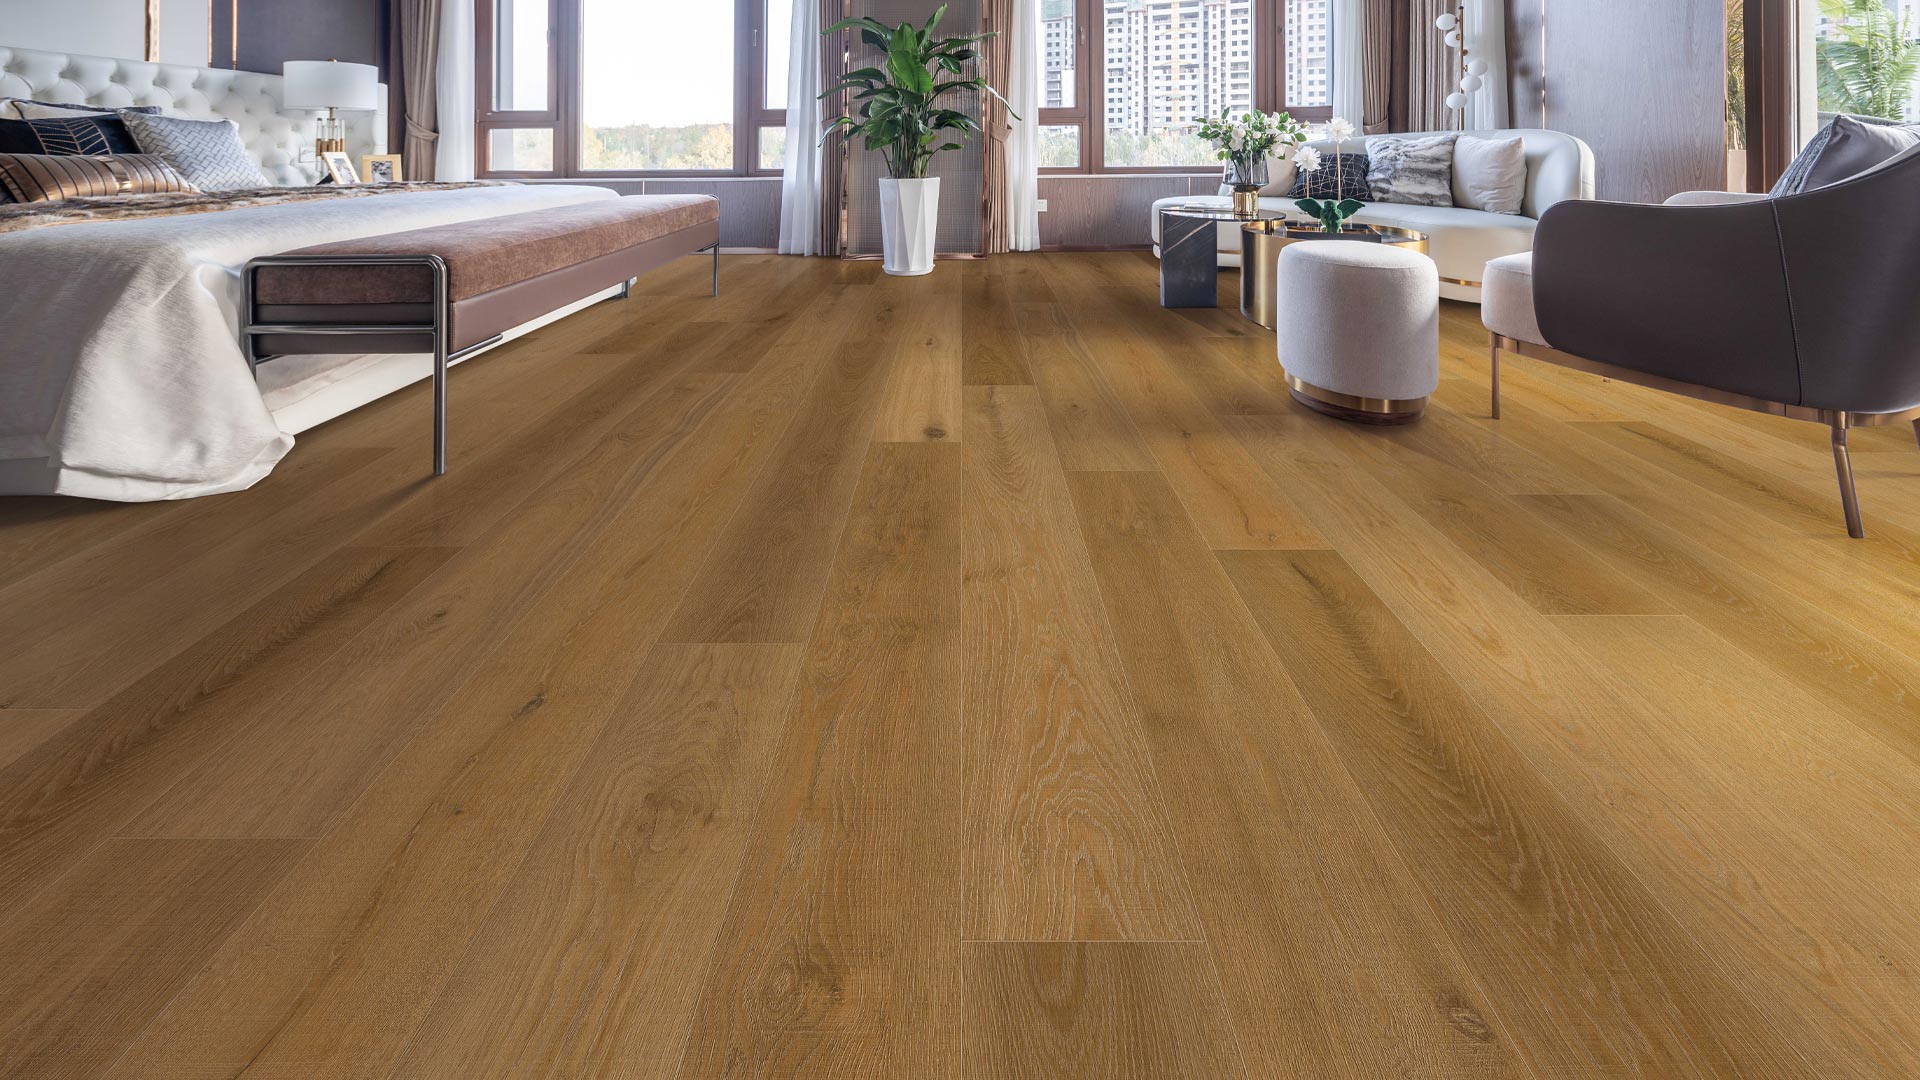
MaxCore™ LVP Waterproof
Provenza MaxCore™ 100% Waterproof Luxury Vinyl products feature innovative patterns, texture, variation and painted edge bevels that deliver a realistic wood or natural stone visual in a durable, GreenGuard Gold Certified, easy-to-install, easy-to-maintain floor.
Innovation is Our Specialty
For over 25 years, Provenza Floors has led the way in meeting the ever-changing demands and needs of flooring consumers, delivering high-style, high-quality hardwood, waterproof luxury vinyl and luxury laminate products.
MaxCore™ Luxury Laminate
Introducing Provenza MaxCore™ Luxury Laminate floors with Water Block® technology! Exclusive hand-selected hardwood patterns from its own custom collection, deliver high-end, ultra-realistic visuals with fewer repeats in an innovative construction featuring Water Block® Technology, that delivers up to 80-hours of surface water protection.